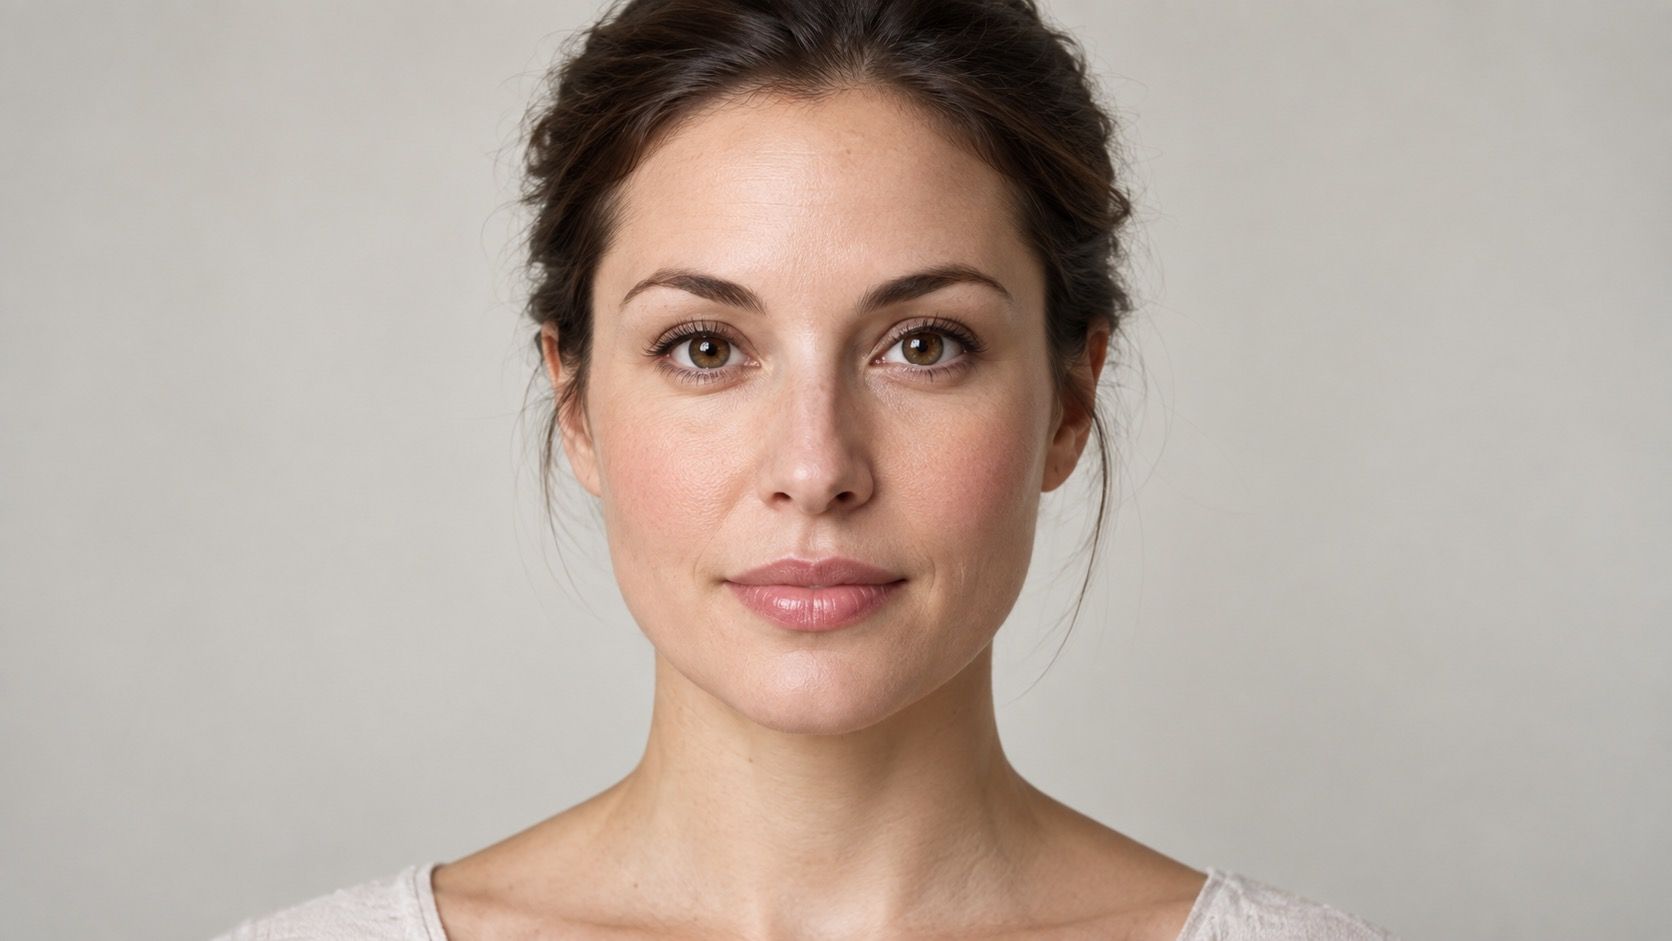
A useful face shape photo is less about looking polished than about keeping perspective honest. The camera needs to see the same forehead, cheekbones, jawline, and chin that a person sees from a normal conversational distance, without a close lens stretching the center of the face.
Why an ordinary selfie can misread proportions
Most phone selfies are taken too close. A wide lens held near the face enlarges whatever is nearest to it and pushes the sides backward. Depending on the angle, that can make cheeks look fuller, a chin look smaller, or a forehead look unexpectedly wide. Those changes are optical, not structural, which is why two selfies taken a few minutes apart can suggest different face shapes.
Choose the camera and distance first
Height matters too. A camera below eye level makes the lower face more prominent; a camera above eye level shortens the lower third and can exaggerate the forehead. Tilting the head has a similar effect. For face shape analysis, aim for an image that feels almost boring: head upright, shoulders level, eyes meeting an eye-level lens, and no dramatic pose.
Use the rear camera when you can. It is often sharper and lets you place the phone farther away on a shelf, tripod, or stack of books. Stand roughly six to eight feet from the lens, then crop the frame later. This distance reduces perspective distortion far more effectively than any face shape filter. If another person takes the photo, ask them to keep the phone level rather than leaning in from above.
A normal or slight telephoto setting is usually more dependable than the widest available setting. Avoid portrait effects that blur the ears or edges of the hair, because the face outline is exactly what you need to inspect. Turn off beauty smoothing as well; it may soften a jawline or alter shadows around the cheekbones.
Use light that reveals the real outline
Face the window or a broad, diffused light source. Direct sunlight can make one side of the jaw disappear into shadow while the other seems sharp and angular. A single overhead bulb creates dark hollows under the eyes and chin, which can change the perceived length of the face. Even light does not need to be flattering; it needs to show both sides consistently.
Keep the background plain enough that the hairline remains visible. A dark background behind dark hair can hide the temple area, while a bright window behind you turns the entire outline into a silhouette. Take one image in neutral light and, if possible, another on a different day. A result that repeats across both is more valuable than a result from one perfectly styled photo.
Position hair, head, and expression consistently
Pull hair behind the ears or pin it away from the temples, forehead, and jaw. This is not the time to judge a favorite haircut; it is a temporary setup for identifying the underlying outline. Keep a natural hairline visible, including a widow's peak if you have one. Do not slick the hair so tightly that it changes the forehead area, but do remove bulk that would be mistaken for facial width.
Use a neutral expression with lips resting and teeth unclenched. Smiling raises the cheeks, and clenching adds definition around the jaw. Neither is wrong in a portrait, but both interfere with a comparison of face proportions. Look directly at the lens, not at your own screen preview, because looking down changes the neck and chin position.
A quick setup checklist
| Element | Best setup | What to avoid |
|---|---|---|
| Lens | Rear camera, normal view | Close wide-angle selfie |
| Height | Lens at eye level | Phone held above or below the face |
| Distance | Several feet away, crop later | Arm's-length framing |
| Lighting | Even light from the front | Hard side light or backlight |
| Expression | Relaxed and neutral | Smile, pout, or clenched jaw |
Compare more than one photo
Take a second face shape photo after checking the first. Small changes in camera height, distance, and head position become obvious when the two images sit side by side. If the widest point moves from the cheeks to the forehead between shots, the setup probably changed. If it stays consistent, you have a better basis for deciding whether the outline is oval, round, heart, diamond, square, or another shape.
Use the photo alongside a mirror check and simple measurements. A front-facing photo can clarify the outer contour, but it cannot replace a straight measurement from hairline to chin or a check of jaw width. The three methods should broadly agree. When they do not, adjust the photo conditions before assuming your face is unusually difficult to classify.
How to use a face shape filter sensibly
A face shape filter can be a quick prompt to look more carefully, but it is not measuring bone structure. It may read makeup, bangs, shadows, eyeglasses, or compression artifacts as landmarks. A filter that gives a different answer after you shift the phone a few inches has shown its limitation, not revealed a mysterious change in your face.
Keep the clean, unfiltered image as your reference. Marking the broadest forehead, cheekbone, and jaw areas on a copy can help you compare the outline, but do not draw a perfect geometric oval around a living face. The goal of face shape analysis is a practical, repeatable impression that helps with styling choices, not a photograph engineered to fit a label.
Save a reference image you can trust
Keep one photo taken in this neutral setup before experimenting with a new haircut, beard, or glasses. It gives you a stable baseline when a styling change seems to alter your proportions. Do not compare it with a posed social-media image made with different light and a different lens. A consistent reference image shows the face's real outline and makes later choices about layers, bangs, frame width, or brow shape easier to judge calmly.
Review the image at normal size
Before deciding on a shape, view the image at a size similar to a mirror reflection rather than zooming into it. Zoom encourages you to treat tiny differences between the two sides of the face as structural clues. Check whether the widest point, the slope of the jaw, and the visible length remain the same in both clean photos. If they do, the photograph has done its job: it has given you a stable starting point for a mirror check and for simple measurements.